9 Garage Mechanic Mistakes
Most snowmobilers would rather chop off an arm with a hatchet than admit they don’t understand engine port timing or how a spring affects clutch shift rate.
They’re not likely to admit they’ve made a mistake while wrenching on a sled, either, which might prevent them from knowing why their sled doesn’t track straight after aligning the skis or the drive belt slips after cleaning the clutches.
Fortunately this quiet, little magazine article sheds light on those private, embarrassing problems to help countless self-taught mechanics track down where they went wrong without anyone knowing the mistakes ever occurred. (Just make sure your riding buddies don’t catch you reading it.)
1. Straight Skis, Crooked HandleBars
An often forgotten step of ski alignment is to first set the handle bars straight. The consequence of this mistake is on par with the ancient Chinese water torture: it won’t cause any physical damage, but driving a sled down a trail with straight skis and crooked handlebars could drive a rider batty after a few miles.
The first step of a ski alignment is to crack loose the jam nuts on the tie rods ends, then make sure the handle bars are straight. Sit on the sled, grab the bars and adjust them so they feel square.
Hop off the sled and measure with a tape from the left bar end to a fixed point on the left side of the sled, such as the rear suspension mount bolt. Repeat the process on the right side. Tweak the handlebar position until both measurements are the same, then align the skis.
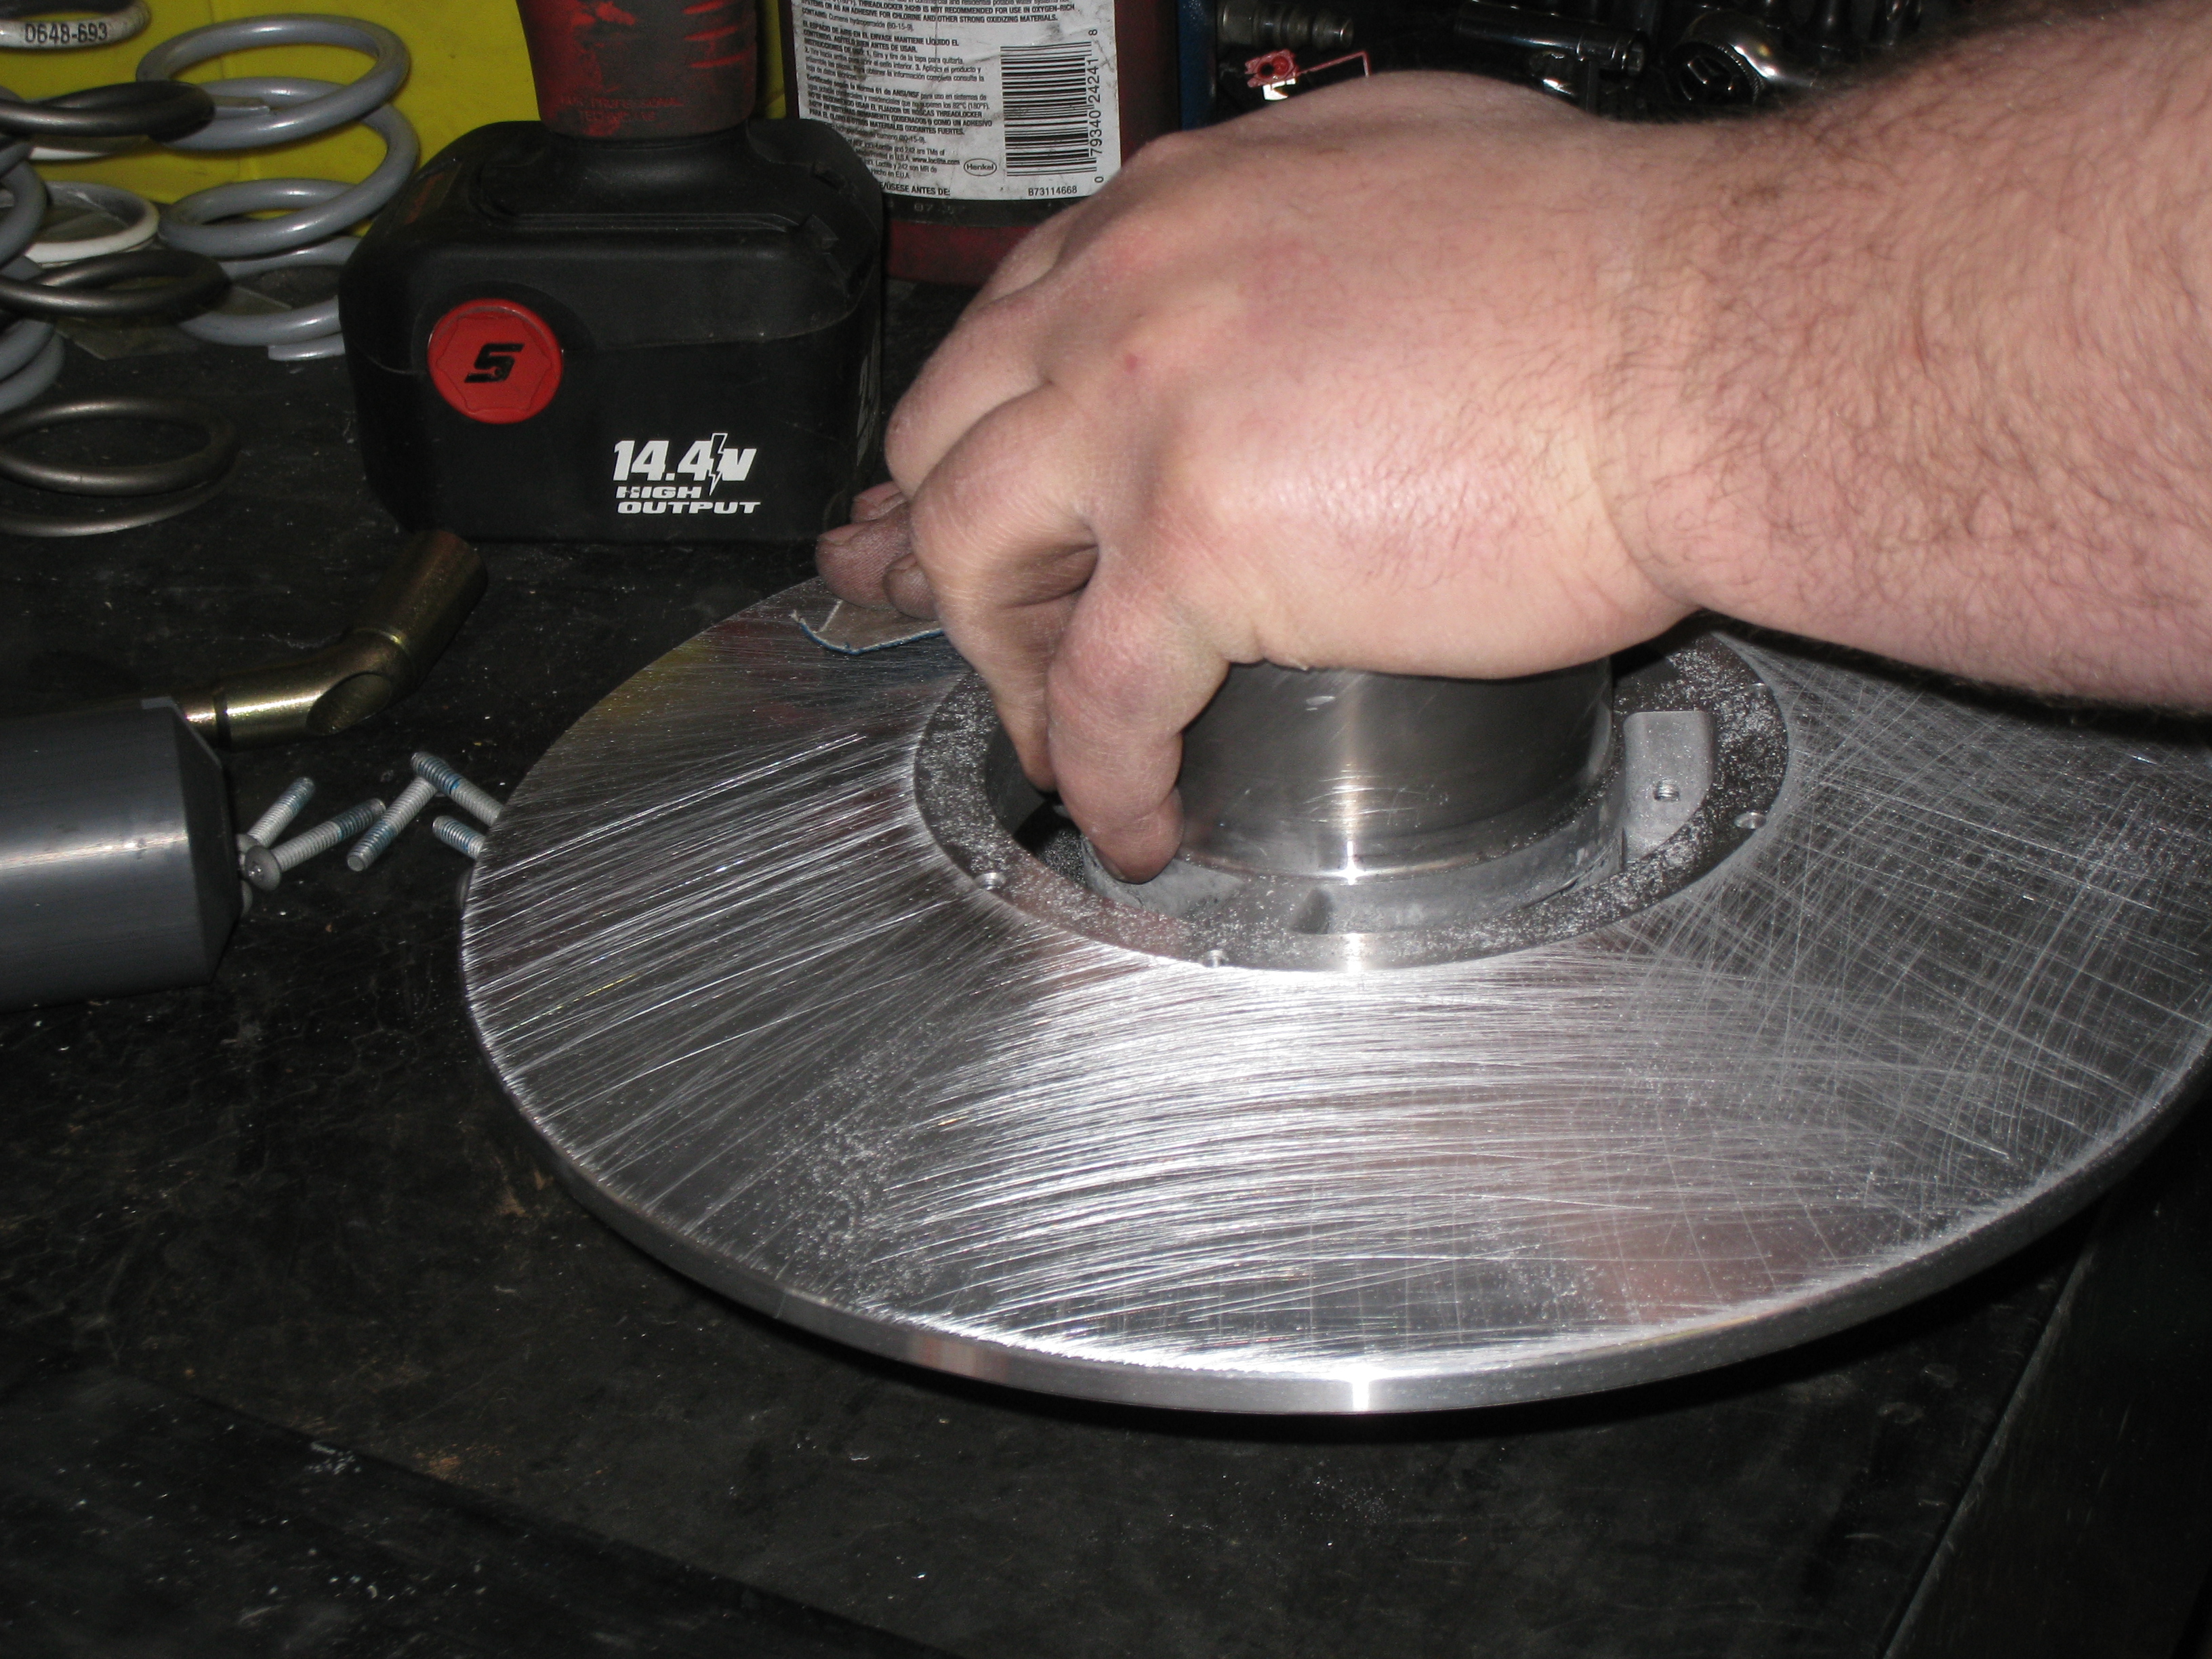
2. Harsh Cleaners Used On Clutches
Use of heavy-duty products like parts washer solvent, carburetor cleaner or contact cleaner works well to make clutches look shiny and new, but that’s where the goodness stops. Don’t make this mistake.
The metal clutch components will absorb the petroleum-based product, which will leach out when the clutches get hot and cause the belt to slip.
Use warm water with a small amount of mild soap or detergent, if necessary. Blow the clutches dry with compressed air or fire up the engine to spin-dry the pulleys.
Another common mistake is to use steel wool or fine Scotch-Brite to scuff the sheaves. These products are too fine and will buff the surfaces rather then scuff them. Rub gently with emery cloth in the 100-grit range to remove glaze and belt debris. Scuff the belt with a clean wire brush to help prevent slippage.
3. Lubricated Clutches
Another common clutch maintenance mistake is to lubricate clutch components. Clutches consist of moveable and slideable parts such as rollers and buttons. So, naturally, a person might think it’s a good idea to help them move freely with a thin coat of lightweight oil. Wrongo.
When the clutches spin, the oil will fly out, make its way to the sheaves and belt and cause them to slip. Clutches are designed to operate dry as a cobweb.
Rollers are essentially a bearing that typically last several-thousand miles, buttons are made of durable — yet slippery — materials that last many miles, too, without the assistance of a lubricant
4. Airbox Installed Wrong
Some self-made mechanics have serviced their sled’s carburetors with good intentions. They checked the float bowls and jets to make sure they were clean and clear in order to prevent a burndown — only to have the engine burn down a few miles down the trail. What was their mistake? They installed the airbox incorrectly.
Whenever an airbox is removed from a set of carburetors, take extra care to make sure it’s re-installed correctly. Check with a flashlight and feel with a finger to make sure the carburetor boots completely surround the throat of each carburetor.
If the airbox isn’t replaced correctly, the carburetors will draw ambient, underhood air that would create a lean fuel/air ratio and cause engine damage.
5. Exhaust Valve
Guillotine installed Upside Down
Variable exhaust valves should be cleaned regularly as part of maintenance for modern sleds. The job is simple, but a common mistake is to re-install the valve guillotine (the part that slides in and out to affect port size) upside down in the cylinder.
Engine damage isn’t likely if the valve is installed wrong, but performance will suffer. The guillotine won’t slide out as far as it should. This will reduce the exhaust port’s size, restrict air flow and reduce peak engine speed by 500 to perhaps 1000 rpm. Modified, big-bore engines could suffer damage.
Thinner cylinder walls might allow the guillotine to hang into the combustion chamber. When a person pulls the recoil rope to start the engine, the piston will hit the knife. A hard tug could crack a piston or damage the guillotine.
To prevent this mistake, look for an identifying mark or “Top” on the guillotine. If the part isn’t labeled, a close inspection of its tip will show how it should be installed. The large cutaway on the knife’s tip should be down when installed.
6. Bubbly decals
Maybe you’ve tried to help an older sled pick up a few miles per hour by adding flashy decals or a new decal kit. The job sounds easy, but it’s more tedious than one might think. Without the right preparation and supplies, the vinyl graphics could end up damaged or with tiny, air-filled mistakes.
When applying new decals to a sled, make sure the surface is clean and warm. Use an ammonia-based window cleaner to remove all traces of petroleum-based cleaners or polishes, otherwise the decal won’t stick.
Spray on a mixture of water and dish soap (a roughly 10 to 1 ratio), peel off the decal’s backing and lay the sticker in place. The wet, slightly soapy mixture will allow the decal to be positioned right where it belongs.
With the graphic in place, use a plastic squee-gee — available from most auto parts stores — to firmly rub the decal and squeeze the water out from underneath it. Start at one end and work to the other until the sticker is firmly seated. Be careful. The tool might crease the decal if it’s slid too fast. Allow the sticker to sit for at least a few minutes before removing the second backing.
Even expert decal installers end up with an air bubble or two. These often go away if the sled is set under direct sunlight that will shrink the vinyl. Large air bubbles can be popped with a sharp razor blade or X-Acto knife and pressed flat.
7. Re-used Gaskets
It’s no secret that engine parts are expensive and snowmobilers are cheap, but there’s no excuse to re-use gaskets. Don’t make this mistake. It could cost you more in the long run.
A typical snowmobile engine has a base gasket and a head gasket or head O-rings that are manufactured to tight tolerances. Once a gasket or O-ring is squeezed between a head and cyinder, it will never return to its original thickness or circumference. O-rings typically grow after they’re removed, so they won’t fit into the groove.
A new gasket is more “squishy” than a used one; this helps create a good seal when it’s squeezed between the parts. A used gasket won’t compress like a new one and could cause air or coolant leaks and uneven torque, which could lead to a burndown, poor performance and overheating.
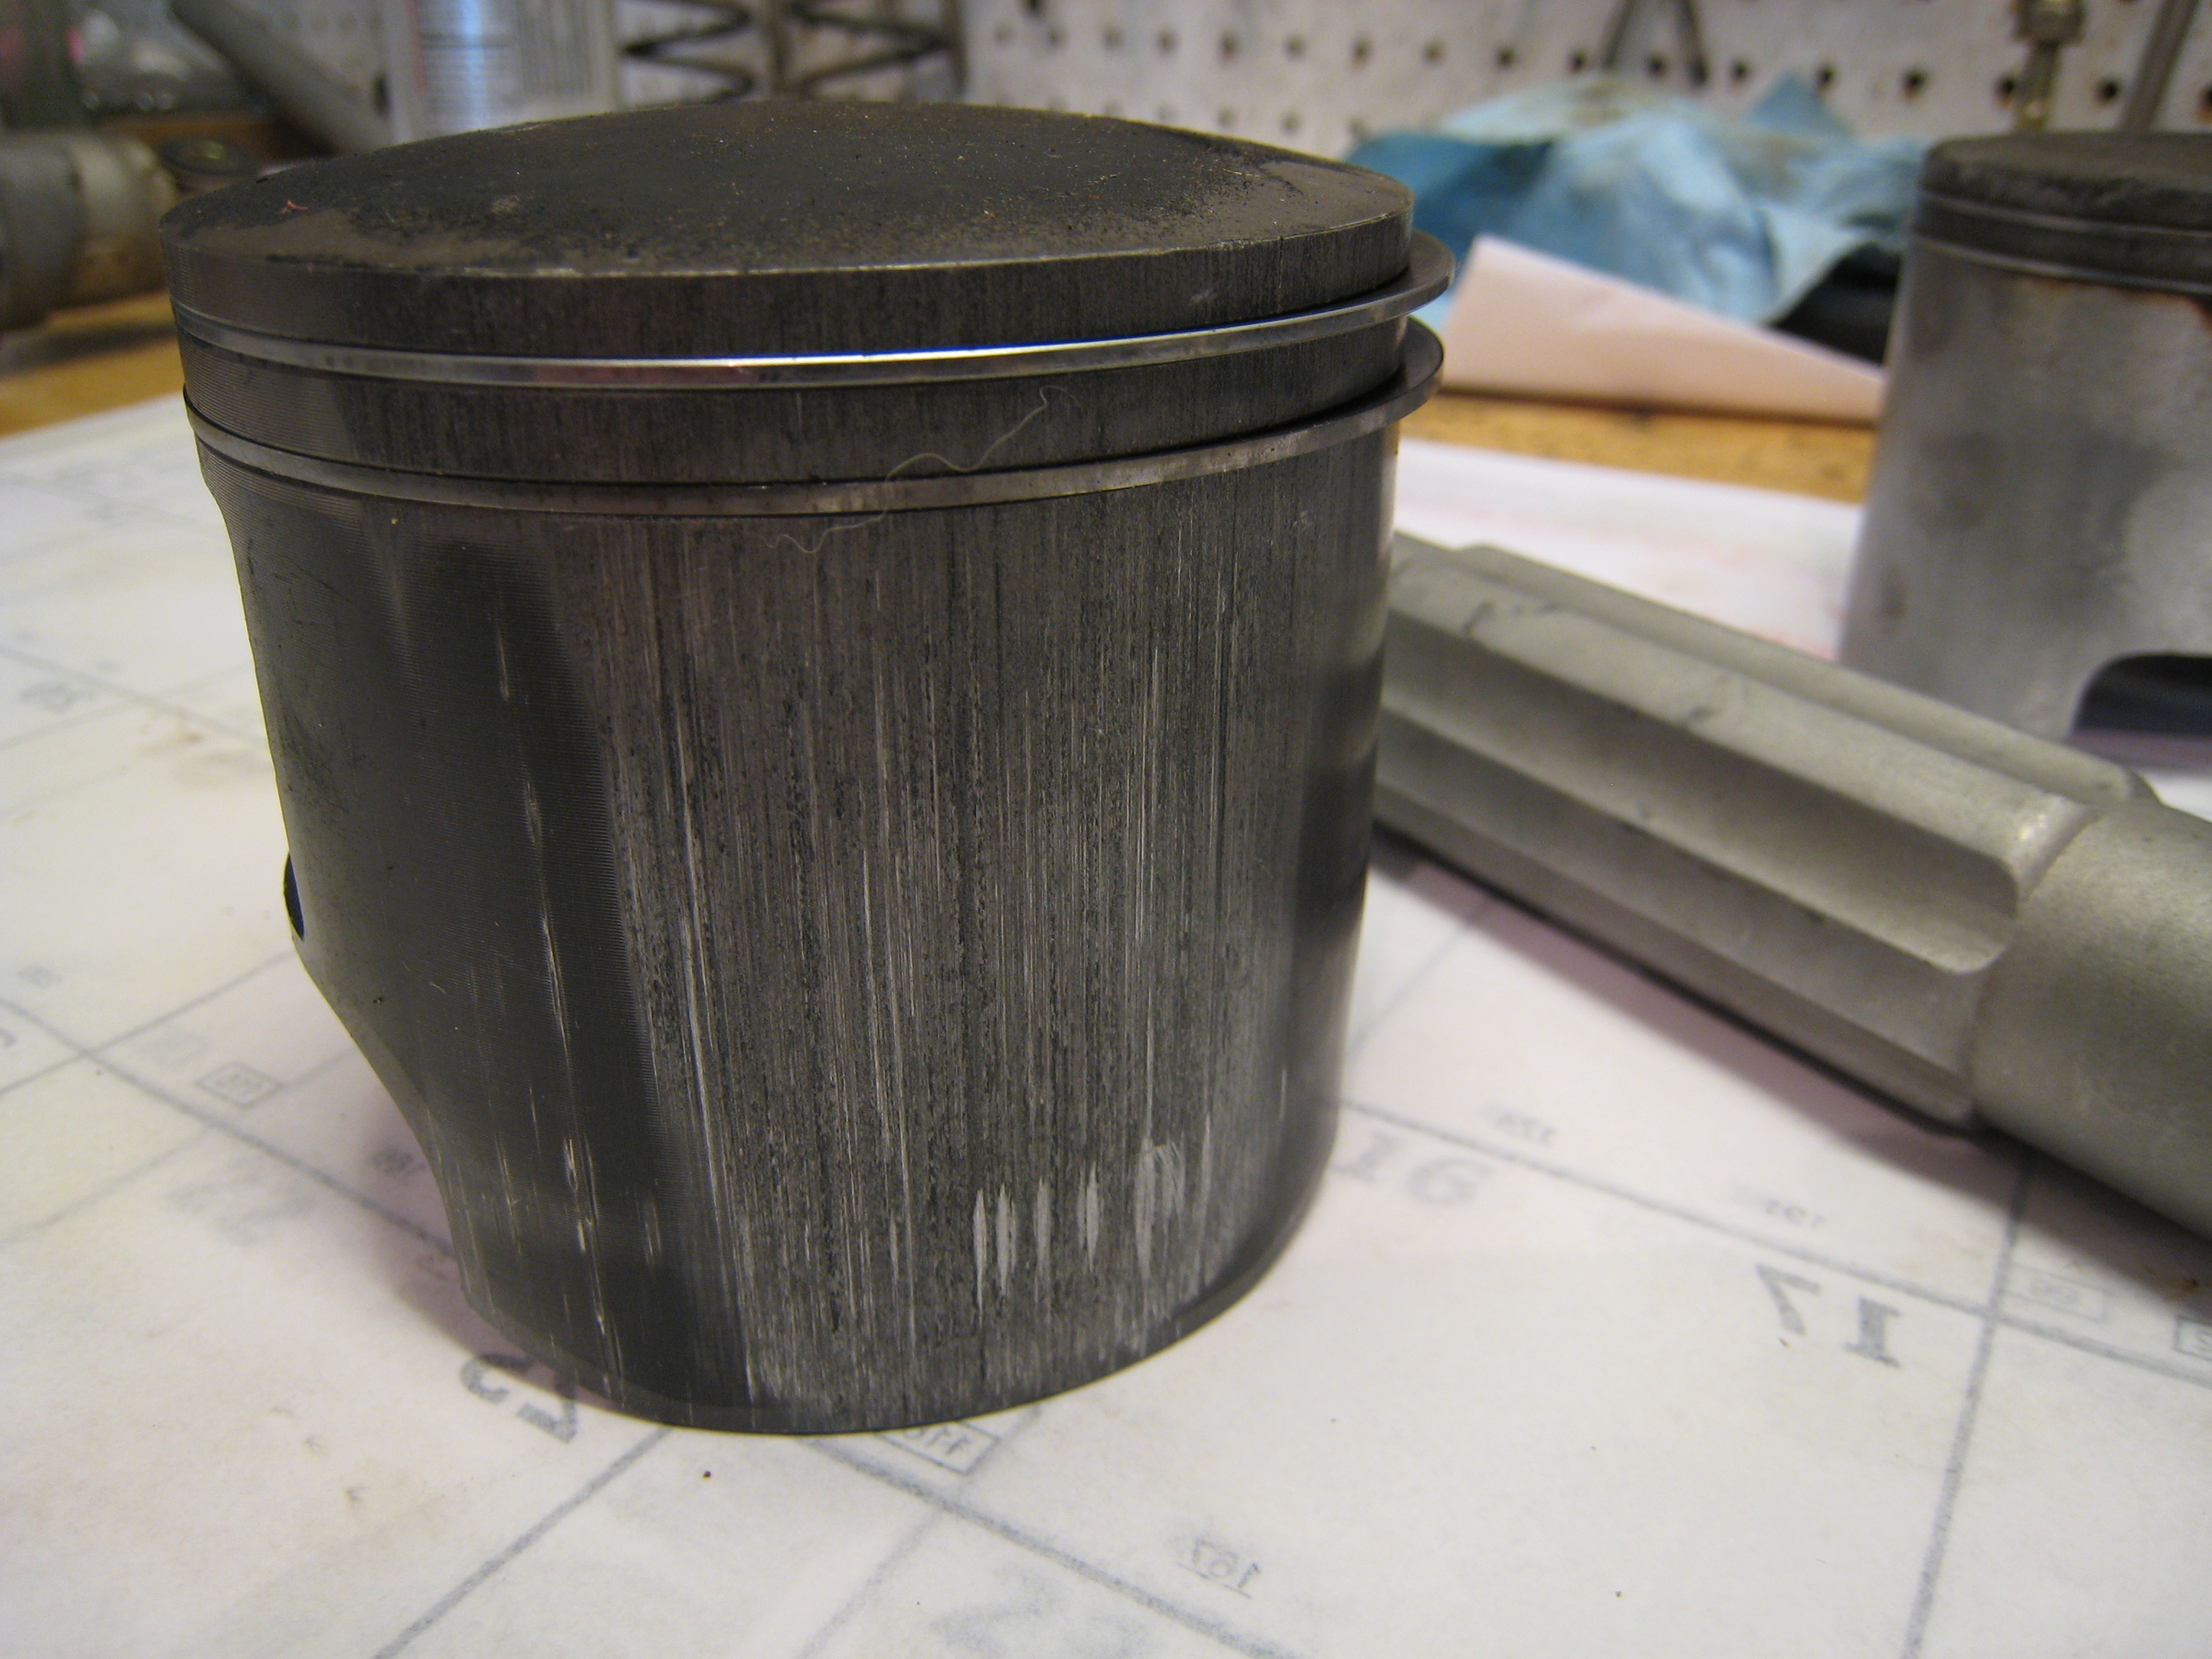
8. Pistons/Rings Installed Wrong
These mistakes can be costly. If a piston is installed backward or the rings are installed upside down, engine failure is only a matter of time.
A backward piston — when its PTO “end” is placed against the mag side of the cylinder, for example — will position the ring end-gap against the exhaust port. The end gap will expand into the open port and the ring will break as it passes by the top or bottom of the opening.
Pistons typically have an arrow that points toward the exhaust port. Check a service manual to verify proper piston orientation for your machine. If the piston isn’t marked, the ring locating pins inside the ring groove usually face the intake side of the cylinder.
Piston rings installed upside down won’t seal and could also hook a port. Modern rings are typically beveled to form a better seal; this cutaway should face up. Some rings have a mark or letter; this usually faces up, too. Check a service manual to make sure.
9. Skidframe Mounted In Bottom Holes
This is a mistake that is common on Polaris Indys with tunnel reinforcement plates that included suspension mount holes below the running board.
Some people mount the skidframe there because it “looks cool” or, worse yet, they think it adds suspension travel. Beauty is in the eye of the beholder, so we won’t pass judgment, but it’s safe to say that changing the suspension’s mount point doesn’t affect travel.
The bottom holes provide a spot to mount the suspension for use in deep snow. The rear and the front mount must be used simultaneously for the sled to work properly and reduce the likelihood of tunnel damage.
If you want to mount the skidframe low on the chassis, only do it for use in deep snow. Drill out the holes in the tunnel’s front plate, too, to keep the suspension on an even plane.
If only the rear end of the skidframe is dropped below the running board, the suspension and chassis’ geometry will be thrown out of whack. This will negatively affect how the machine rides and handles. The tunnel is more likely to bend near the suspension mount holes, too.