How To Service Electric Trailer Brakes In 13 Steps
Your sled is dialed in. That new helmet fits just right. The lodge restaurant always serves a killer prime rib dinner on Friday nights. Reports say trails are the best they’ve been in 10 years.
But one hour into the drive, you and three buddies sit on the side of the interstate — waiting for a wrecker to come and load up your broken-down trailer. Maybe you’ll come back to mile marker 223 in the spring to search for the wheel and hub that broke off and bounced into the highway median.
A neglected trailer can foil plans for a perfect snowmobile trip in an instant. So why not take the cash you would spend this winter to pay that tow truck driver’s bill and invest it now in your trailer?
This step-by-step how-to covers complete replacement of the electric brake and hub assembly for Dexter axles.
Even though some parts in your trailer’s hubs might look OK upon inspection, replacing complete assemblies may be more cost effective – in terms of time, money and sanity – than trying to round up a patchwork of new, separate parts including brake shoes, drums, electro magnets and bearings. Kits often include these components, along with hardware, springs, seals and other necessary parts.
For this story we serviced a roughly 12-year-old, 4-place Aluma Ltd. snowmobile trailer with Dexter E-Z Lube torsion axles. Dexter axles are original equipment on Rance, Triton, Mission, Wells Cargo, Haulmark and many other popular snowmobile and utility trailers. So, steps and photos here likely apply to the wheeled bed that hauls your sled.
Variances between axles, though, are in their weight capacity, brake size and some internal parts such as bearings and seals.
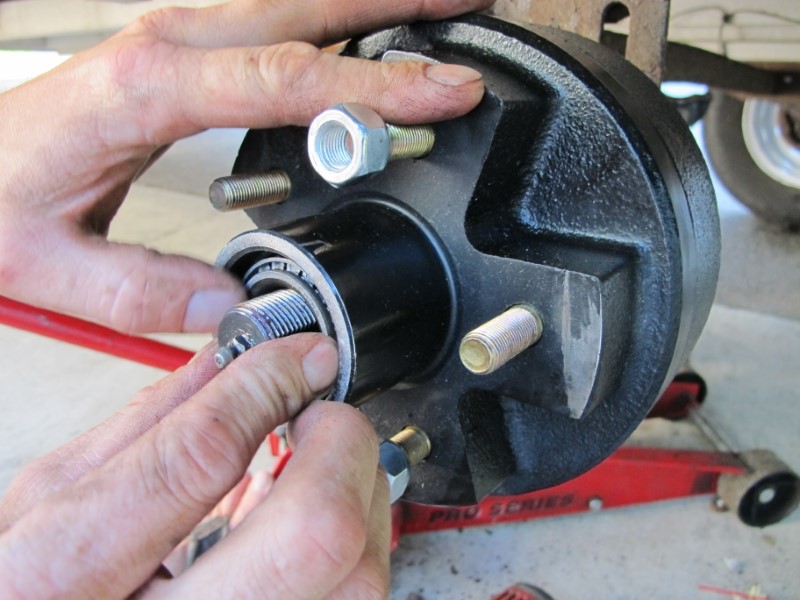
Step 1: Remove Grease Cap
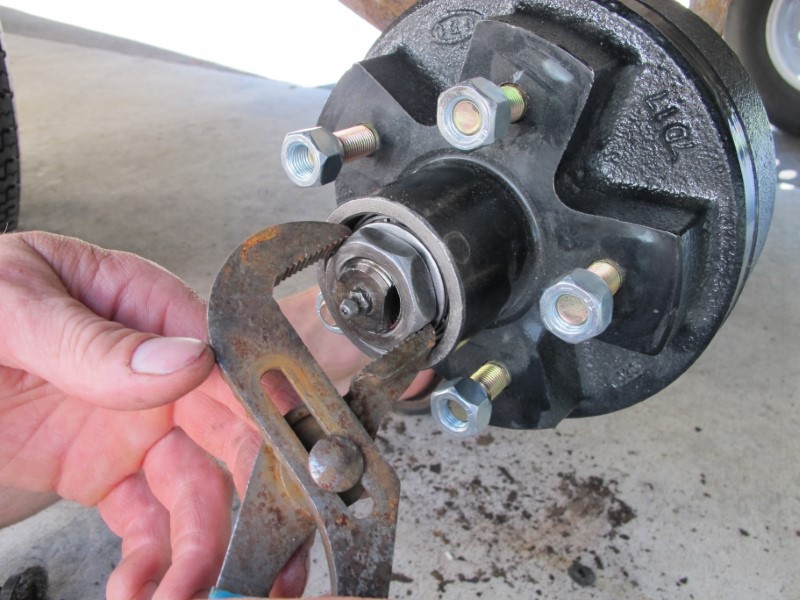
Elevate the trailer and put the axle or frame on a sturdy jack stand. With the trailer raised up, remove the wheel with an impact wrench. If you don’t have an impact tool, loosen the lug nuts with a hand tool before raising the trailer; penetrating oil or a lot of heat will help loosen stubborn hardware. Now use a chisel and hammer or large slip-jaw pliers to push the metal grease cap off of the hub.
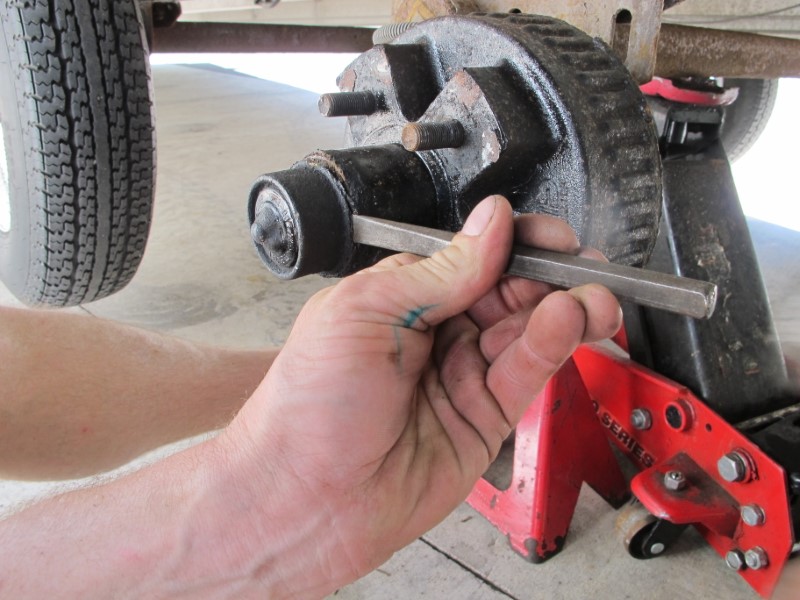
Step 2: Reveal Worn Parts
Remove the cotter pin or keeper that retains the axle nut, and then remove the nut – which should be finger tight. Set aside the nut and remove the washer and outer bearing while keeping track of their order and orientation for correct reassembly later. Grab ahold of the drum with two hands and pull it toward you to remove the drum/wheel hub and reveal the brake components. If the hub won’t pull off, see Step 13 to adjust the brake shoes out of the groove that might be worn into the hub.
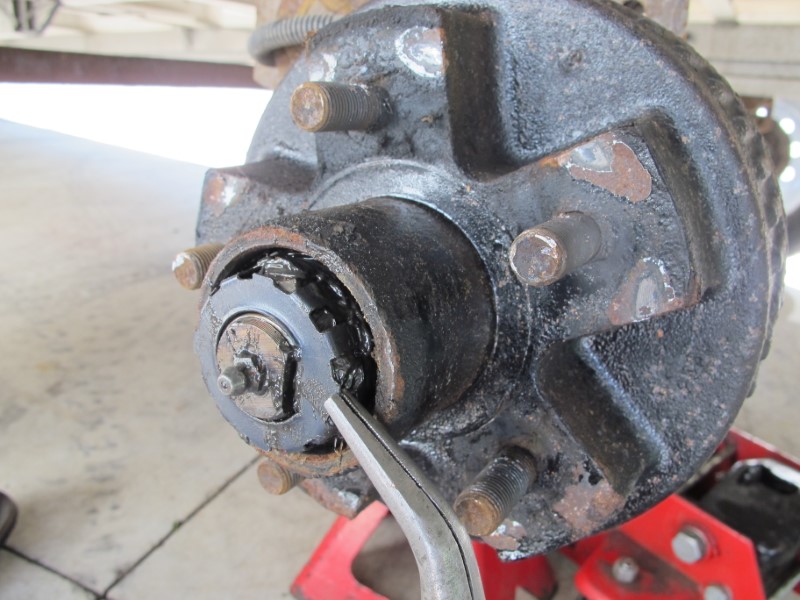
Step 3: Remove Backing Plate
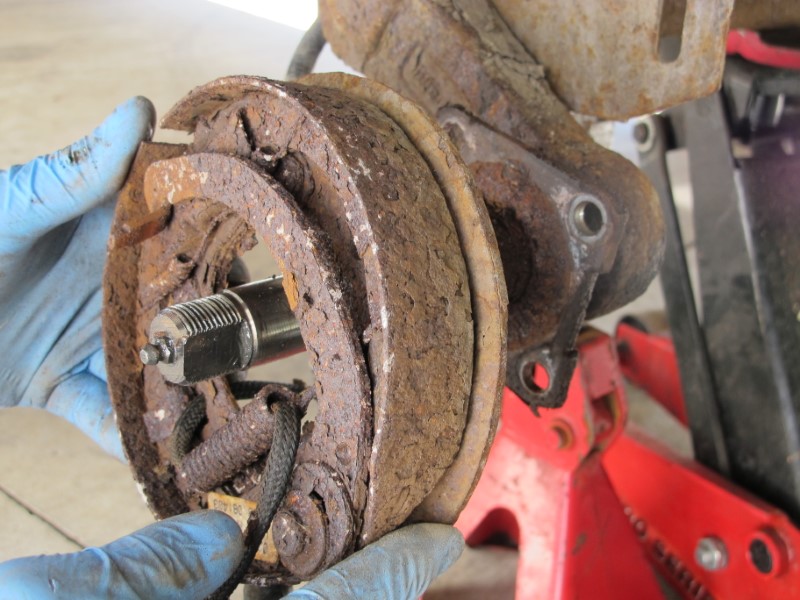
The backing plate assembly is fastened with nuts – likely four of them – to a plate on the axle. These nuts need to be removed. In some cases the nuts will twist off relatively easily. Others might need penetrating oil, brute force, heat from a torch or else cut by a reciprocating saw or torch. With the nuts off, peel back the loom and tape from the wires that lead to the electro-magnets, cut the wires and slide the backer plate assembly off of the axle’s spindle.
Step 4: Prep Axle For Seal Sleeve
If the axle is rusty or rough, a seal sleeve – called a Speedi-Sleeve by SKF – should be installed on the stepped portion of the axle shaft. The thin-walled sleeve will give the hub’s new grease seal a clean, smooth surface so it won’t leak or wear. Prep the axle shaft by removing rust and grime with emery cloth or an air-powered wire wheel.
Step 5: Install Seal Sleeve
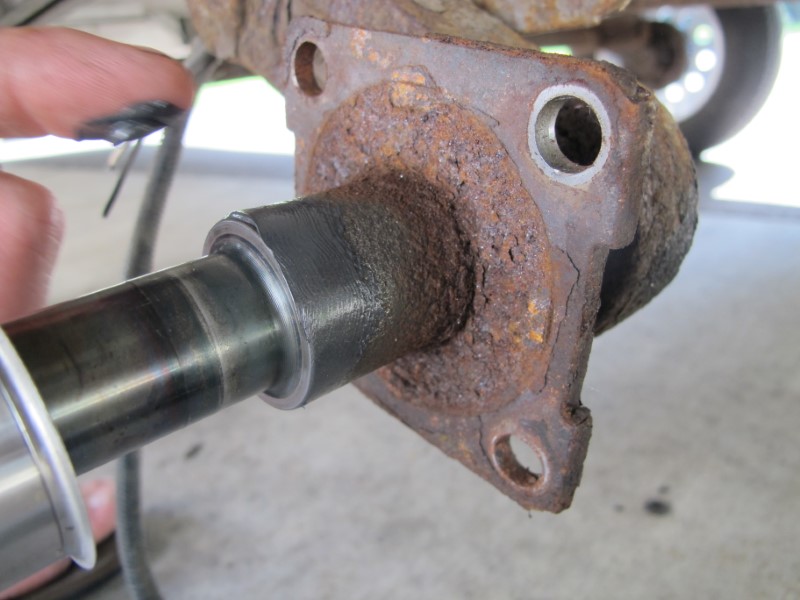
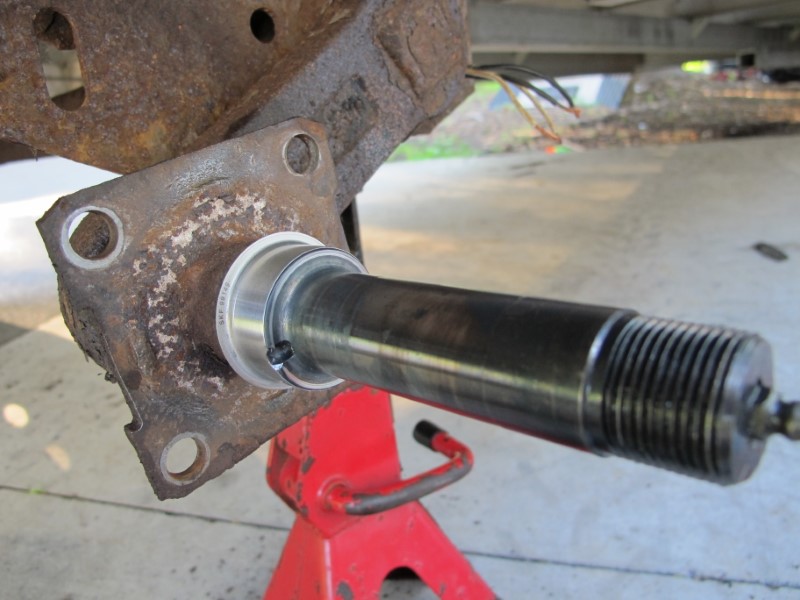
With the surface and sleeve prepped, use a pipe or metal tube to drive the sleeve on the axle shaft until it’s flush with the shoulder. Make sure the sleeve won’t cover the hole for the grease. If it does, drill a hole or cut a relief notch through the sleeve, then remove burrs with a file so they won’t damage the grease seal upon installation.
Step 6: Prep Backing Plate Mount Flange
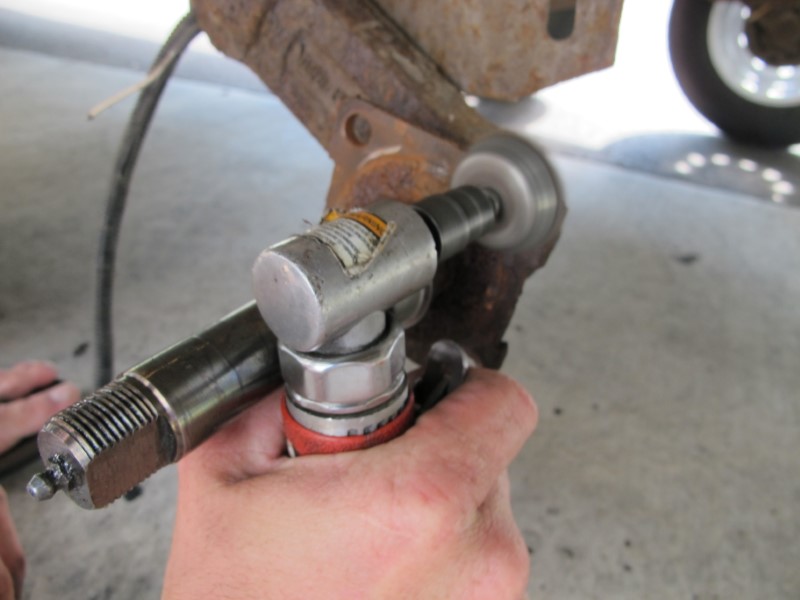
Now you’re making progress and almost ready to install new brake components. Use an air-powered wire wheel or hearty wire brush to clean chunks of rust and debris from the wheel side of the backing plate flange.
Step 7: Position Backing Plate
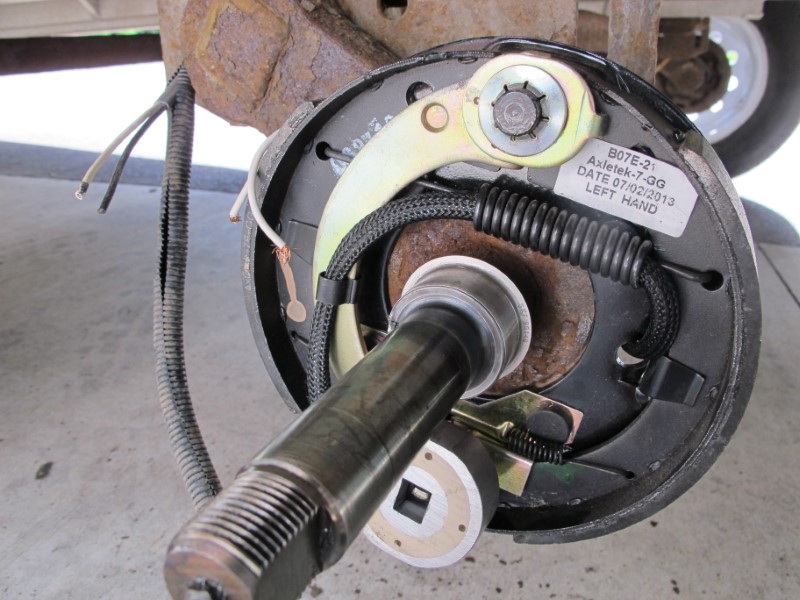
Set the new backing plate on the axle with the electro-magnet at the six o-clock position. Backing plates are directional. So, make sure the left and right plates are installed on their corresponding sides of the trailer.
Step 8: Install Mounting Plate
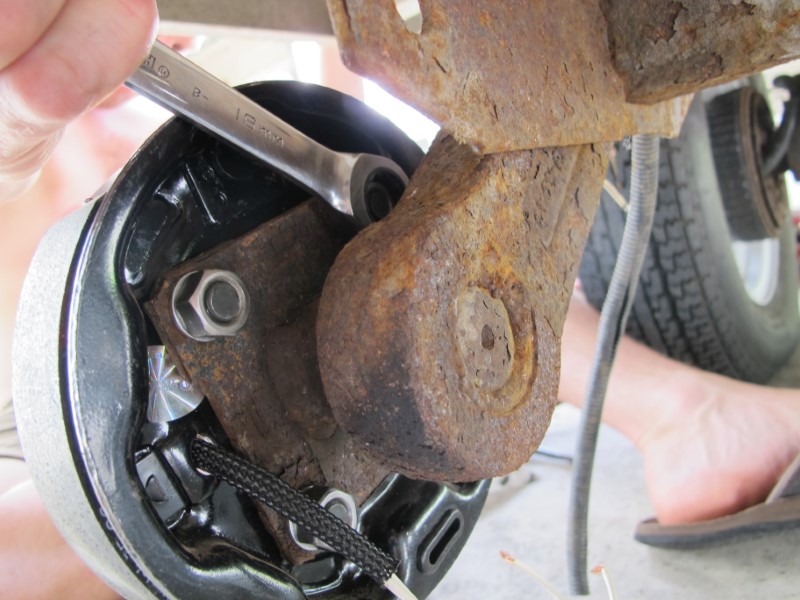
With the backing plate on the axle, install and tighten the hardware to hold it in place.
Step 9: Connect Wires
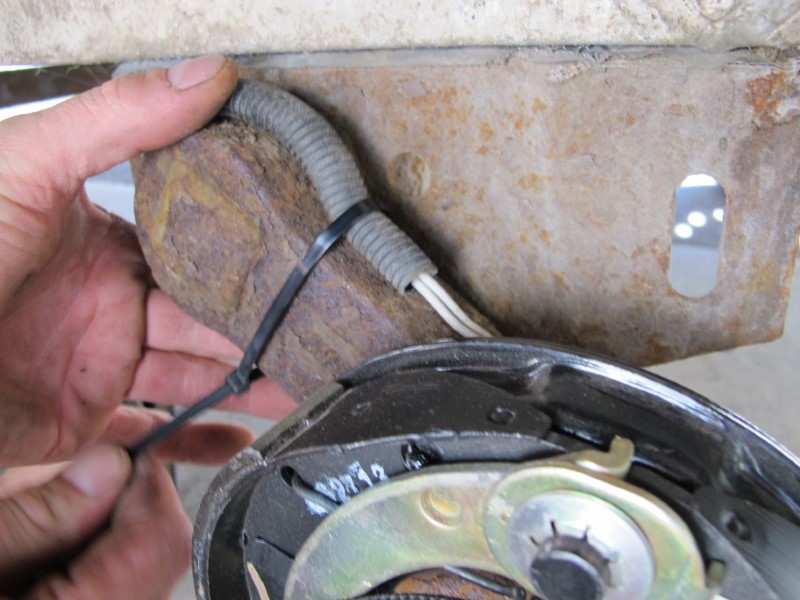
Now that the new backing plate has been installed, wires for the electro-magnet need to be connected to the trailer’s wire harness. Solder them together for the best connection, or use butt connectors. Heat shrink tubes provide a good, weather-tight seal over the connection, otherwise quality electrical tape works well, too. Don’t worry about matching the wire colors.
Step 10: Prep Drum/Wheel Hub
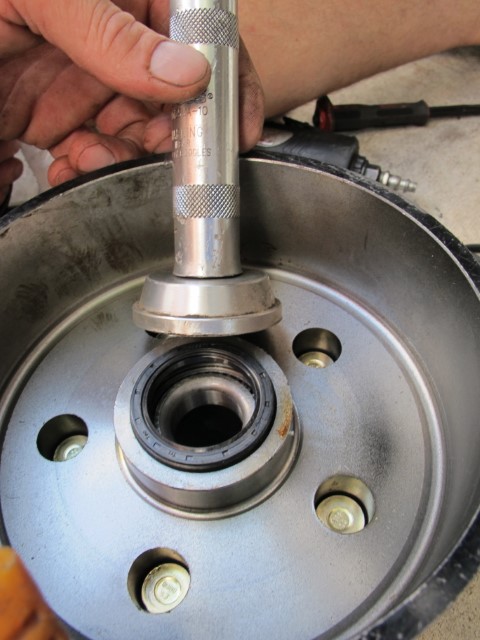
Blast the new drum/wheel hub with brake cleaner and wipe it with a shop towel to remove any manufacturing oil or corrosion inhibitor. Set the hub on a solid work surface with the opening facing up and set a bearing in the hub with the bearing’s tapered end pointing toward the work surface. Now use a seal driver or appropriately sized socket to press a new seal into the hub.
Step 11: Install Drum/Wheel Hub
To preserve the new seal, carefully slide the drum on the spindle until it stops and feels secure; you should not have to shove it. Slide a bearing on the spindle with the tapered end pointing toward the trailer. Then install the axle washer and nut you removed in Step 2 by slowly rotating the wheel hub while tightening the axle nut. Finish by installing the cotter pin or nut retainer.
Step 12: Grease The Bearings
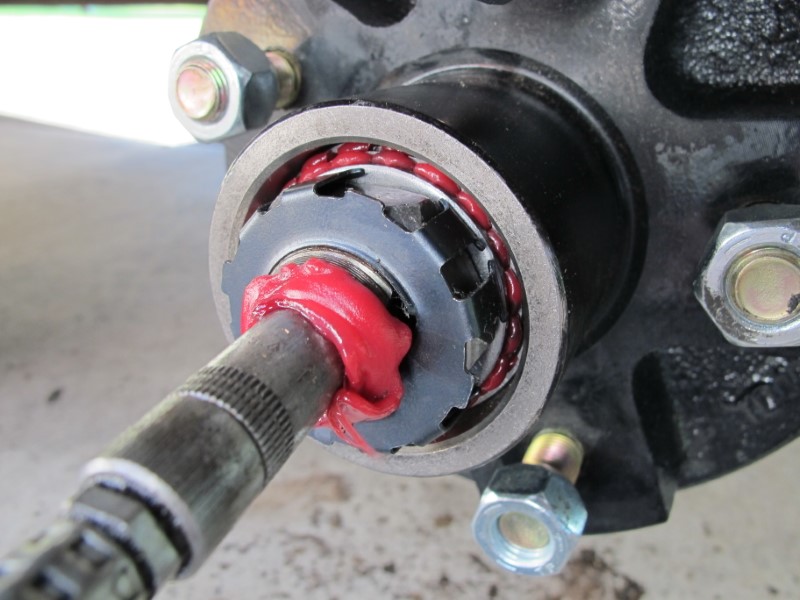
Fill the bearings with quality wheel bearing grease that will remain soft in cold weather. After the hub is full, use a rubber or plastic hammer to install a new grease cap and rubber plug.
Step 13: Make Adjustments
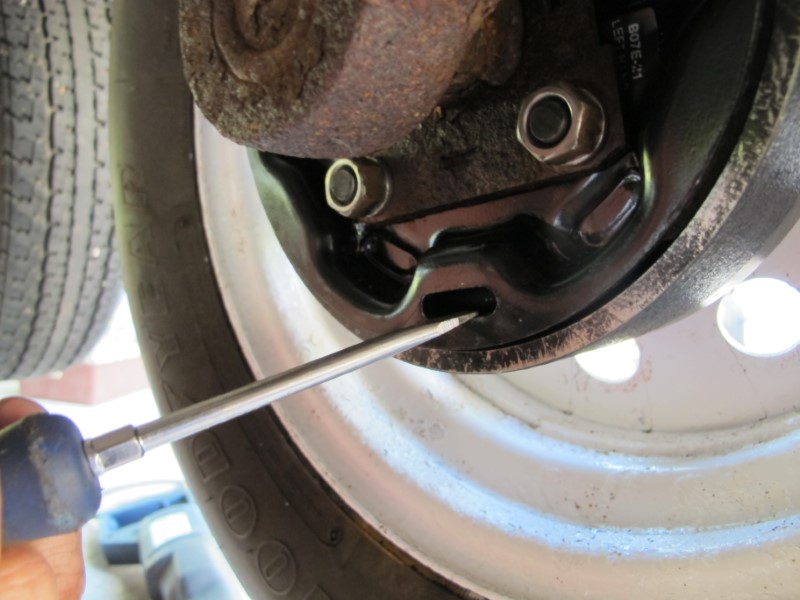
The final step is to adjust the shoes. Mount the wheel and rotate it forward while using a flat screwdriver to turn the brake adjuster wheel until the wheel locks, then turn it back a few clicks until there is very slight drag; you will hear the shoe rub against the drum. Re-adjust after 500 miles.
FINDING PARTS
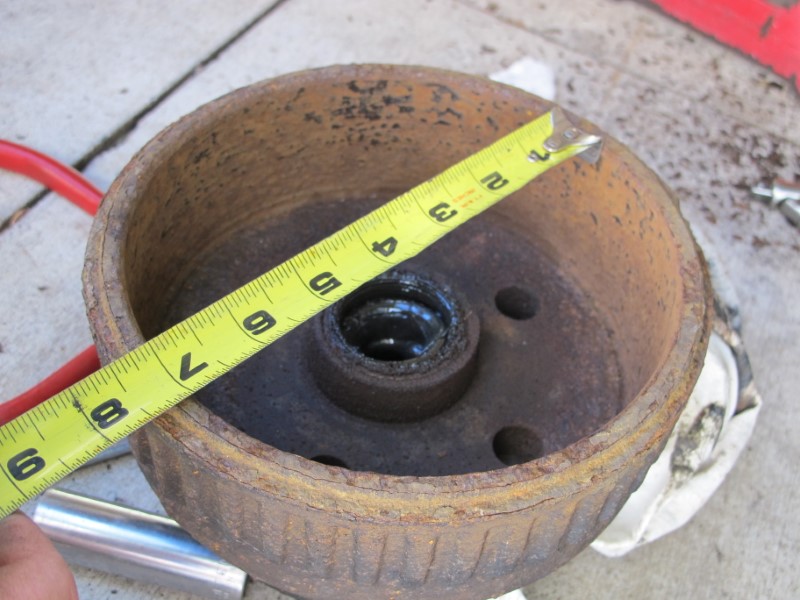
Dexter axle parts are available through trailer repair shops and dealers, many online suppliers and some auto parts stores. Measure the drum to determine which size brake assembly the trailer needs – typically 7-, 10- or 12-inch. Use a caliper to measure where the grease seal rides. For bearings, measure the axle’s spindle diameter at each end because some call for different size bearings. Seal sleeves are available at auto parts stores and bearing retailers.
Editor’s Note: Every Snow Goer issue includes in-depth sled reports and comparisons, aftermarket gear and accessories reviews, riding destination articles, do-it-yourself repair information, snowmobile technology and more. This article (above) appeared in the October 2014 issue. Subscribe to Snow Goer now to receive print and/or digital issues.

