The shorter days, longer nights and crisp bite to the air first thing in the morning are undeniable clues of what’s ahead.
Yes, it’s true, the seasons are changing. Some folks might dread the countdown to winter but not us snowmobilers. We make the best out of each season—particularly the snowy one. In fact, some of us can hardly wait for the fun-filled winter ahead.
While eagerly anticipating days on twisting trails, snow-covered laketops, wide-open backwoods meadows and thrilling hillsides, now is a wonderful time to make sure your sled is also ready for winter with a tip-to-tail inspection. You can address small problems before they become bigger ones. Or, if big problems are found, you can still order parts or schedule service before the snow flies. You don’t want to miss valuable riding days, do you?
This article assumes the snowmobile was put away properly last spring—with the fuel stabilized, cylinders fogged and other basic maintenance completed.
Give It A Wash
We’ll begin with the same advice we’ve given for years within similar articles: Start by giving your snowmobile a complete bath and detail job. This gets you interacting with all parts of your machine and helps you rediscover the cracked taillight, broken windshield mount or small seat tear that you tolerated last riding season, thinking you’d fix it over the summer. It’s also when you’ll uncover hidden rodent or hornet nests!
Skis & Front Suspension
Start up front with a close inspection of the skis and their runners. Check the runners for general wear, missing carbide insert pieces or unusual bends. If you’ve got a tool like the Biteharder Carbide Sharpener, you could put a fresh edge on your cutting surfaces. Others will brush over their runners with some sandpaper to remove surface rust that accumulated over the summer. Replace worn runners as needed.
Next, inspect the skis for cracks, divots, worn keels or other damage. Make sure the ski rubber is properly in place, the mounting bolt is tight, etc.
Move a bit higher up on the machine and carefully inspect the front suspension. Look for cracks in the spindles or other parts, and inspect the joints where A-arms, steering arms, sway bar linkages and other components come together. Depending on the brand and vintage of the snowmobile you’re pulling out of storage, there may also be grease zerks that could use a fresh dose of low-temperature lube.
Inspect your front shocks and springs next. Look for signs of damage, pitting on the shaft, or oil seepage near the seals on the shocks. If they’re rebuildable shocks and it’s been a couple of seasons since you’ve had them serviced, now might be a good time. As best you can, cycle the shocks and springs by giving a firm push down on the front of the sled to make sure both are functioning as expected.
Now would also be an apt time to pull out the tape measure to check your ski alignment, handlebar alignment and toe.
Move Back
Staying close to the ground, move to the rear half of your sled to inspect the track and rear suspension area. Gently tipping the sled on its side, look for missing or damaged lugs or track clips, frayed track edges, the conditions of studs (if so equipped) and their mounts, etc.
Now would also be a great time to check your track tension and alignment. Are the drivers meshing well with the track windows and lugs? While you’re down there looking around, peek through the track windows to inspect your hyfax slides. If in doubt, replace them.
Next, it’s time for a complete rear suspension inspection. As with the front, look for cracks or signs of fatigue on suspension arms, limiter straps and other moving parts. Pay special attention to joints, mounts and connections. If there are zerks, give them a blast of fresh grease. Also, give each bogie wheel a spin to make sure they move freely and the bearings are sound.
Move on to the shocks and springs. Like you did on the front suspension, look for signs of damage, weakness or seepage, and consider a rebuild if they’re due. Flop the sled back on its skis and cycle the rear suspension a couple of times to ensure everything moves naturally.
Under The Hood
Peel off your sled’s side panels and hood for a thorough examination. We like to start with the drive belt and clutches.
Take off the drive belt and inspect it for excess wear, frayed edges, flat spots or other problems. If in doubt, start your new season with a fresh belt and keep the old one as a spare.
With the belt out of the way, inspect the primary and secondary clutches, looking for worn components, cracks or other problems. Pay special attention to the springs, buttons/rollers, weights and other components that move or get moved against. Clean the clutch sheaves with an emery cloth or some acetone.
Reinstall the drive belt, then check its deflection as well as clutch alignment. Processes vary by manufacturer, so consult your owner’s manual. But know that a belt that’s too tight will cause the machine to squeal or even crawl forward on idle, while a belt that’s too loose will make the sled bog upon engagement.
Check all your underhood fluids —chaincase oil, anti-freeze, oil (particularly on a four-stroke), etc. The brake system’s master cylinder will be mounted up on the handlebar—check that level now, too, because if you need to bleed the brakes it’ll be easier with those body panels off. Within the aforementioned chaincase, pre-season is also a good time to ensure proper chain tension.
Give the rest of the engine a once-over. Pay attention to intake boots, airbox connections, coolant line conditions, variable exhaust system mechanisms, etc. Speaking of which, when’s the last time you cleaned your exhaust valves? It’s typically a relatively easy process that can make a big difference on how well a sled runs.
Look for problems in the exhaust system—leaks, missing springs, bad connections, rusty components, etc. And, depending on the sled, there may be a turbocharger or final belt drive system that needs your attention.
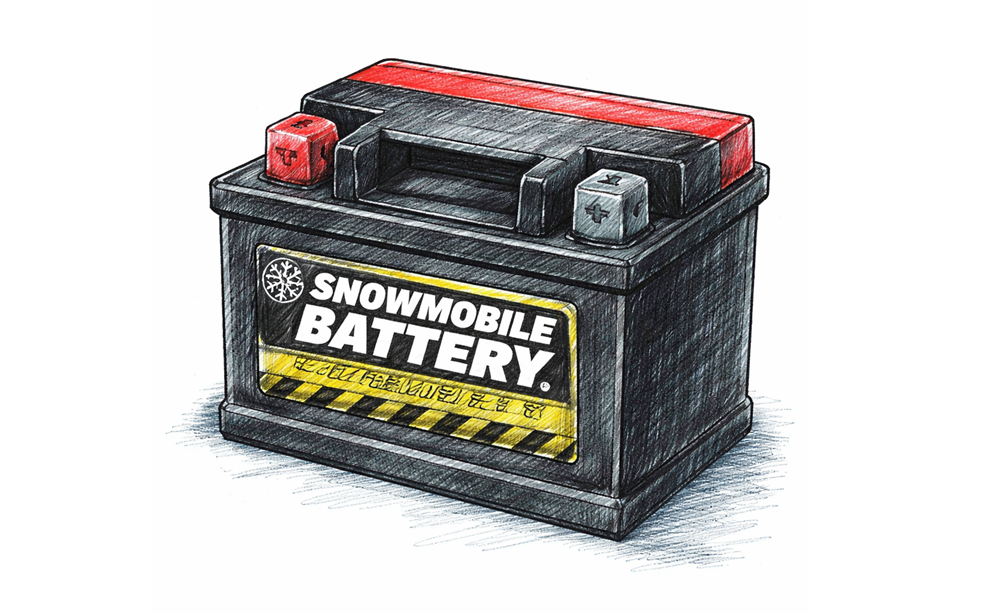
Inspect all wiring, harnesses and connections, working your way all the way from the battery to the handlebars, and from the lighting to the spark plug caps, etc. Pull the spark plugs and consider their condition. Again, starting a fresh season with a fresh set of plugs isn’t a bad idea. Also inspect the path and condition of any cables, vent lines, etc.
Assess as best you can the shaft ends—including where the driveshaft and jackshaft enter the chaincase—looking, for example, for oozing oil that could be a clue about leaking seals. This is also a fitting time to judge the condition of your brake pads and rotor.
Before re-attaching the hood and side panels, grab the handlebars and move them lock-to-lock while inspecting the steering system to ensure proper function. Lubricate as needed.
From The Cockpit
Slide in behind the handlebar and check all of the functions at the handlebar, starting with proper throttle and brake functionality. Take any issues seriously—whether it’s a loose-feeling throttle or a spongy brake feel.
This is also a suitable time to dial-in your sled’s ergonomics. Think back to last season—were your hands and wrists in comfortable, non-fatiguing positions when riding? Whether it’s the angle of the handlebar itself or the throttle block, brake handle or control block, there’s a lot of adjustability that far too many people ignore.
Finish this segment with a walk-around, considering the condition of the seat, windshield, running boards, body panels and any accessories.
Fire It Up
Some people may want to delay this last section until closer to the riding season—depending on whether they are ready to “unpickle” their snowmobile for the coming season—because it involves starting and running your machine. But don’t put it off too long—lest you discover a problem you need to address the night before the season’s first ride!
When you’re ready (and after you’ve removed all of the dryer sheets, moth balls and rags you strategically placed last spring to ward off pests!), lift the rear of the sled using a jackstand and start the engine.
Let it idle for a bit while you check all the functionality of your headlights (high and low beam), taillights (running light and brake light), hand/thumb warmers, gauge and any accessories you have added. Also check the function of your kill switch and tether cord sometime during the first run.
Slowly bring the engine RPM above idle to engage the clutches and spin the track, checking the running condition of the throttle and brake along the way. Better to find out about brake problems now rather than when heading into a corner!
For the purposes of this article, we’re going to assume the sled runs well because diagnosing every potential operational problem could fill a service manual. But if the engine bogs, hesitates, won’t idle or has other problems, address it now.
Depending on how you put away your sled, now is an appropriate time to consider swapping out a bunch of your fuel—your car/truck will burn somewhat aged-and-stabilized gas easier than your high-performance snowmobile engine. Using a shaker-style siphon hose or a siphon pump, many riders we know will fill a couple of gas cans with the old fuel and then top off their snowmobile with new fuel.
All of these steps don’t ensure a problem-free first tide, but they certainly shift the odds in your favor. And they give you an excuse to spend some quality time in the driveway, garage or shop with the machine you love. Here’s to wishing you a fun-filled winter!