
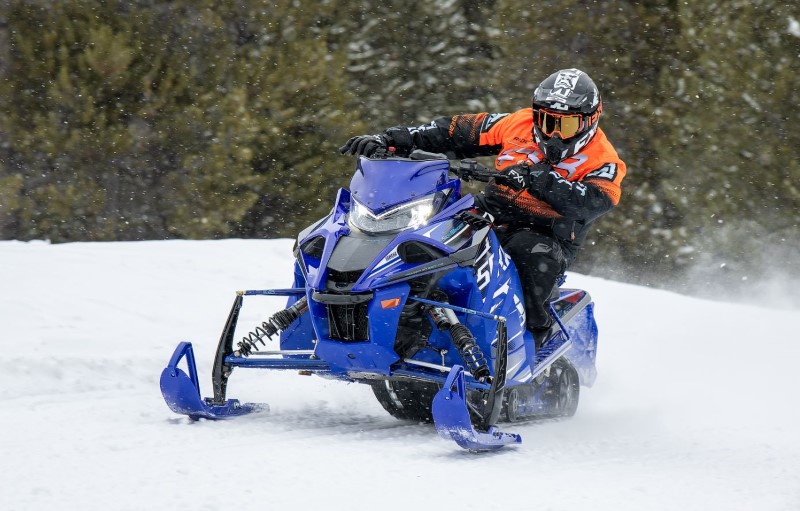
 Most snowmobilers can probably change spark plugs on an older sled as quickly as a NASCAR pit crew can swap a set of tires. But a plug change can leave a do-it-yourselfer scratching his head the first time he tackles this task on a four-stroke engine, as the plugs are usually stuffed under the steering column and behind body parts.
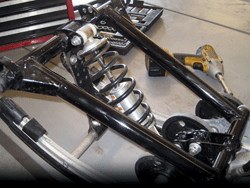
Access to spark plugs in a Yamaha Nytro is intimidating on the surface, but the job isn’t very difficult. With a few simple hand tools, cylinder head access is easy to gain. We removed and inspected the plugs and took photos for this story on a 2008 FX Nytro RTX in about 60 minutes.
Yamaha recommends the spark plugs on these models be replaced seasonally, every 2,500 miles or 200 operating hours, whichever comes first. While these engines are well tuned for a precise air and fuel mixture, the spark plugs are prone to foul if they’re subjected to repetitive starting and stopping of the engine without allowing it to reach its operating temperature, such as when loading and unloading the sled from a trailer.
Step 1: Remove side panels
Each Nytro side panel is secured with quarter-turn quick-clips and one bolt; the hood only has clips. Remove the hardware, turn the clips and slide each panel forward and up for removal. Remove the hood by twisting the quarter-turn clips and pulling it off the sled.

Step 2: Unbolt the seat
Remove the shrouds on the side of the exhaust outlet to gain access to the seat. The cushion is fastened to the chassis with a bolt on each side and the front of the seat has a tab that hooks under the fuel tank. Use a wrench or socket to spin out the bolts and give the seat a rearward tug to remove it from the sled.
Step 3: Remove the fuel tank shroud
The fuel tank shroud is secured by two quick-clips in the rear of each shroud and two clips near the front of the shrouds under the handlebars. Turn the clips and remove the fuel cap to remove the shroud. Reinstall the fuel cap after the shroud is removed to prevent fuel spill during the rest of the job.

Step 4: Disconnect fuel pick-up line
There are several steps to remove the gas tank. First, remove the fuel tank vent line and fuel pickup line. Slide back the tabs on the red connector to unhook the vent line, and then disconnect the fuel pickup line by sliding the fuel line off the barbed connection on the tank. To reduce the amount of fuel that might spill, install a short piece of quarter-inch fuel line on the fitting and clamp the other end of the line with a locking pliers.
Step 5: Cut power to the fuel pump
Remove the electrical connections for the fuel level sensor and fuel pump. The fuel level sensor is on the chaincase side of the tank. Disconnect it by sliding back the tabs on the green connector. The fuel pump is a gray electrical connector in the center of the tank in the metal disc.
Step 6: Lift off the tank
Use a wrench or deep-well socket to remove the nuts that fasten the tank to the chassis. You’ll need to raise the rear of the tank and slide it over the top of the studs toward the rear of the sled. If necessary, use a pry bar to break the tank loose from the studs.

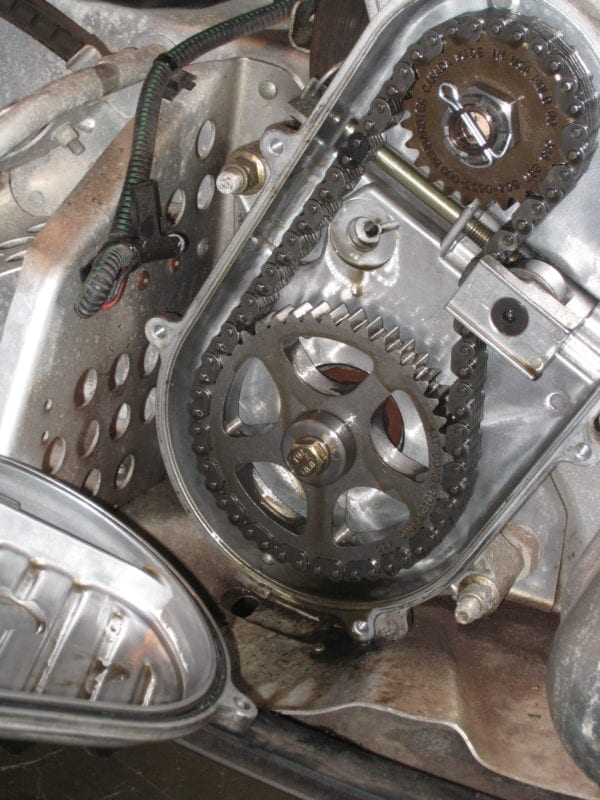
Step 7: Access the spark plugs
With the fuel tank off the sled, you’ll have access to spark plug caps/coils, which need to be removed to access the spark plugs. Sometimes the caps stick to the spark plugs due to the heating and cooling of the rubber against the porcelain, so gently twist the caps from side to side to break the seal before you try to pull them out of the head. If necessary, unclip the wire from the coil.
Step 8: Swap the spark plugs
Once the plug caps are out, remove and replace the spark plugs. Set the gap to Yamaha’s specification and twist the plugs in until they’re finger tight and then tighten them another three-quarters of a turn with the socket.

Step 9: Install caps/coils
With the new plugs screwed into the engine, push the cap/coil assemblies into the cylinder head until they’re seated; you should hear an audible “click” and feel the cap engage with the spark plug. The cap will sit without an air gap between the cap’s rubber seal and head. Re-install the fuel tank and body parts.
Thanks to Heinen’s Arctic Cat-Yamaha in Osseo, Minnesota, for its help with this story.

Any one have similar instructions for accessing the plugs on a polaris 2010 turbo lx 750cc?