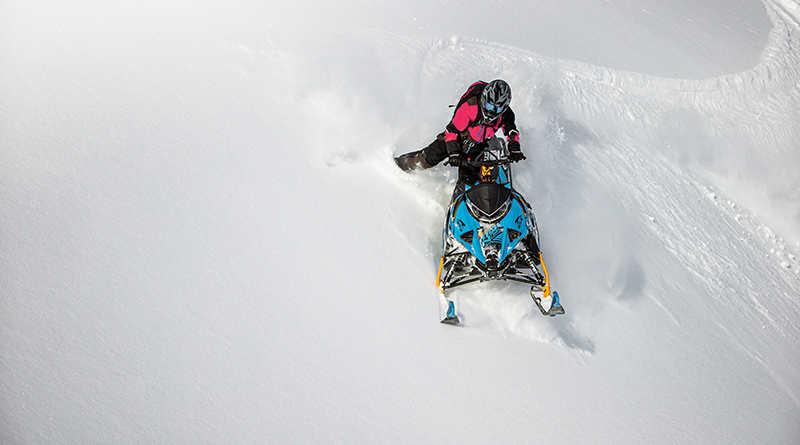
Snowmobiling in the mountains is exciting and adventurous, but riders must act with caution whenever responding to the call of the mountains – like getting the proper equipment and training related to avalanche danger.
What follows is an article that was printed in the November 2015 issue of Snow Goer magazine, in the magazine’s Backcountry section. It includes 10 expert tips, offered by Brian Lundstedt of Colorado-based Tyler’s Backcountry Awareness. Click through to learn more about the vital training this group does. To see more articles like this, subscribe to Snow Goer magazine today.

Avalanche Beacon Tips: Get One, And Then Learn How To Use It
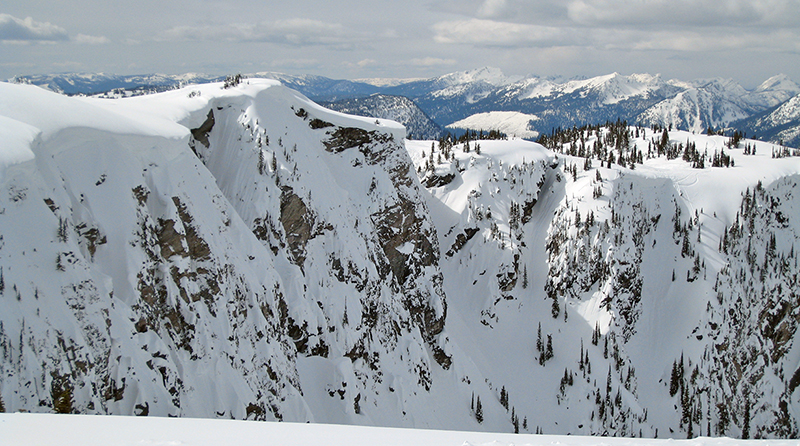
One thing every mountain snowmobiler most fears – or should fear – is an avalanche. By misreading the hill, not minding to the warnings put out by local officials and/or not paying attention to the conditions and signs of avalanche danger, some snowmobilers continuously put themselves in harm’s way.
However, even if a snowmobiler does virtually everything right, a surprise avalanche can still occur. Highmarkers aren’t the only ones who need to be concerned – people riding on trails have even been swept up in big slides that come from higher territory. In the last decade an average of 28 people have been killed annually in avalanches in the United States. Many were snowmobilers.
There are various courses available that educate riders on what to watch for and how to avoid becoming part of the sad statistics. We’d highly recommend taking a course if you ride in the high country.
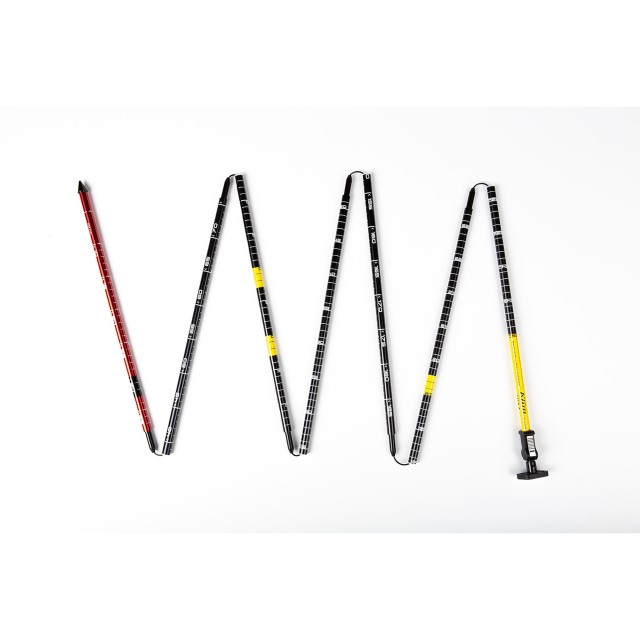
You should also obtain and be ready to use all of the proper equipment, including an avalanche beacon, portable shovel and a probe, and possibly an air bag. For this article, we’ll focus on beacons.
The average avalanche beacon is about 3 by 5 inches and weighs a half-pound, but this little unit can be a lifesaver, allowing those searching for a buried rider to quickly and efficiently zero-in on that rider’s exact location. Simply buying a beacon and throwing it in your pocket won’t help much, though. You and everybody in your riding party must have it set up right, properly powered and must know how to use it in a high-stress situation.
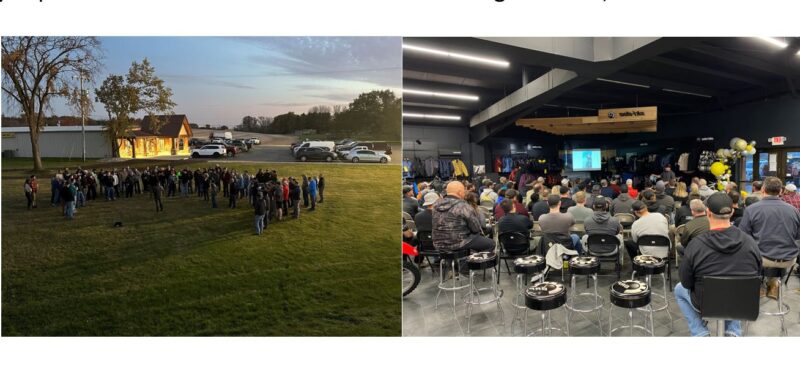
We turned to Brian Lundstedt of Colorado-based Tyler’s Backcountry Awareness for his advice. For Lundstedt, awareness and preparation to ride in the high country is a passion, one fueled by the loss of his brother, Tyler, in an avalanche while snowmobiling. Lundstedt’s not-for-profit organization, named in his brother’s honor, provides courses to riders on avalanche safety. Lundstedt also hosts a beacon park for training at various events, including at the Rocky Mountain Snowmobile Expo in Denver, Colorado.
Here are Lundstedt’s Top 10 Beacon Tips, from purchase through practice and use:
The Purchase – The first step toward properly using a beacon is actually getting one, and that can be a challenge in itself. There are many different manufacturers and models from which to choose. Get a digital beacon, and preferably a three-antenna unit. These more advanced-designs help reduce search times, getting searchers digging faster. Do some research or check out beacons owned by friends. All beacons work together so there are no worries there, but find the one with features and functions that fi t you and your needs.
Read Up – After purchasing your beacon, don’t think, “Now that I bought it, I am safe – I can just turn it on and go.” It is much deeper than that. Now that you have this fancy new technology, learn about it. Read the manual, learn to work with the controls and make sure you know the type of batteries your manufacturer recommends and how often they need to be replaced. Take it outside and play hide and seek with your riding buddies to learn how it works. (More on that later.)
Storage – Whether you have a new beacon or an old, trusted unit, remove the batteries every spring when you hang up your riding boots. This will keep corrosion from ruining your first ride next season. There’s nothing worse than getting to the trailhead and finding out your equipment isn’t ready – like discovering that batteries leaked all summer and wrecked your lifeline. Also remember, you don’t throw around your laptop computer, and it probably won’t save your life or that of your best friend. So play nice with your beacon.
Practice – I love beacon practice with my riding buddies, whether practicing in the yard or on a camping trip, because then I know they can find their mark, quickly and efficiently. Take turns hiding one beacon and then creating a stressful situation where the others have to find that beacon quickly. Learn how to follow the signals the beacon is giving you. Make it a contest, make it fun, but take it seriously. I always ride with people I trust my life to, and they know they can trust me as well. If someone doesn’t want to be part of the practice, I will fill their spot in our riding group with someone I know will know what to do.
Harness Or Pocket – The chicken or egg of the avalanche beacon. Here is the deal, your beacon must be one layer of clothing below your outer-most layer when riding. This prevents it from getting ripped off in a tumble. I like to wear mine in a harness until spring, when layers get thin, then I switch to placing it in an integral pocket – meaning a pocket that is manufactured into your gear, not sewn on the outside like a cargo pocket. You need to attach your lanyard to something; many guys will cut small holes in the top of a pocket to string the lanyard through. I have pockets with lanyard loops inside. Make sure it is secure, you don’t want to be searching for your loved one and have to stop to find your gear.
Trailhead Check – This is a critical step you should add to every ride in the high country. Get out of the truck and before you head out, spend less than 5 minutes making sure you are truly ready. A quick check looks like this: 1) All people in the group turn on their beacons and watch for any errors or LEDs not working, and call out their battery percentage as it comes up on their screen. 2) All members spread out some and go to the “search” mode, while the leader stays in “transmit.” Check that all beacons read out and that the distance is accurate. 3) The leader switches to “search.” If everybody’s beacon is silent, you know all beacons are in “search.” 4) Then everyone but leader goes to the transmit mode. All other riders properly stow their beacon as noted above, then the leader switches back to the transmit mode and stows his or hers as well.
Batteries – Proper batteries are a must. Alkaline have a linear rate of voltage decay. Lithium batteries hold their voltage until they get very low and then rapidly lose voltage. Your beacon measures voltage to know the remaining percentage of charge on the batteries. The use of the wrong batteries can give false battery life at the trailhead, then a little later while enjoying your day the beacon can die without warning. It comes down to knowing your equipment. I always carry an extra set of batteries in the truck and another in my backpack; this eliminates leaving someone at the truck for the day due to low batteries.
Recommended Service – All the manufacturers have a time that they want their beacon returned for a service check, and a time in which it should be retired. After retirement it makes a great beacon to use in a pinch, like when someone has a beacon that’s not working at the trailhead check or when a new/visiting person is brought with to experience riding.
New Folks – When I know someone has limited experience using avalanche gear, it changes my ride. Usually these people aren’t extreme backcountry riders, so terrain selection is pretty easy. Stay off of and out from under avalanche terrain. Usually new riders are blown away by any backcountry ride. At the end of the day, I explain that if they want to keep going and get into the more fun terrain, it is time for them to get their own backcountry gear and take an avalanche class.
Get Real – If you get fully buried, the odds are not in your favor. All the best preparation and training will go a long way. The best gear will make it easier to be fast and smooth but it is no replacement for an avalanche class and using your head when in the backcountry. These are all musts to ensure you come home from every ride in the West.